
Scale up IoT provisioning and deployment with AWS IoT Services - Part 3: Automating Deployment
July 12, 2024
This is the final post ( 🎉 ) in a three post series focused on IoT device provisioning, component building and deployment automation, using AWS IoT Greengrass services. Just a note: I will make reference to the previous posts so if you haven’t been reading along, you might want to check them out first to avoid any confusion.
How do I automate deployments?
To this point we’ve been working in a test-components folder but let’s say after some testing and observation we are happy with our component and decide we want to deploy it to multiple devices. How could we automate this process?
To be frank, there are a lot of ways to automate deployments, but in this case we opted to integrate deployment of components into a Github Actions pipeline that we were otherwise using for deployment of our backend services. It’s still a work in progress, but here are some snippets of what we have so far, which works for the current state of our project. I’ve cut a few steps out of the code below for the sake of brevity, so keep in mind that you will need steps that check out the code and get AWS credentials, if you want to get this to really work (see the checkout and credentials github actions for more details). Here’s our current workflow 👇
Check for changes to components
First, we created a new components folder in the root of our project. When a test-component has been adequately tested, we transfer our test component into this folder. To ensure that AWS increments the version number of our component for us on deployment, we also need to change the version field in our component’s gdk.config.json file to NEXT_PATCH if we haven’t already done so.
{
  "component": {
    "com.example.PythonHelloWorld": {
      "author": "<PLACEHOLDER_AUTHOR>",
      "version": "NEXT_PATCH",
      "build": {
        "build_system": "zip",
        "options": {
          "zip_name": ""
        }
      },
      "publish": {
        "bucket": "<PLACEHOLDER_BUCKET>",
        "region": "<PLACEHOLDER_REGION>"
      }
    }
  },
  "gdk_version": "1.3.0"
}
Now that we have the configuration and setup and our completed component in the components folder, we merge the changes into our main branch from our development branch in the Github repo in which we keep our code. This triggers our Github Actions pipeline which handles the deployment of our components.
The pipeline does the following:
First, it checks for changes in the components directory on merges to main. Like so:
jobs:
  ## check for changes in the components directory
  changes:
    runs-on: ubuntu-latest
    outputs:
      components: ${{ steps.changes.outputs.components }}
    steps:
      - uses: actions/checkout@v4
      - uses: dorny/paths-filter@v3
        id: changes
        with:
          filters: |
            components:
              - 'components/**'
If there are changes in the components directory, the output of this job will be true and a publish-components workflow will be triggered. If a job has to meet a requirement before it is triggered, as in this case, we define the requirement in the needs field. The workflow that should be triggered is in the uses field. You can see this below:
## publish components
publish-components:
  if: ${{ github.event_name == 'push' && needs.changes.outputs.components == 'true'}}
  needs: changes
  uses: ./.github/workflows/publish-components.yaml
  concurrency: publish-components
  permissions:
    contents: read
    id-token: write
  with:
    environment: ${{ (inputs.deploy_environment == 'stage' || inputs.deploy_environment == 'prod') && inputs.deploy_environment || 'dev' }}
  secrets: inherit
Note: Recognising and acting on changes in a directory can be achieved more simply (e.g. running the job on any push to main for a specific folder) but in our case, the pipeline is more integrated with other backend workflows. If you are in a similar situation the examples we provide here may be more helpful.
Build and Publish Components
In the publish-components job, we install the Greengrass Development Kit CLI, so that we can build and publish our components like we did when we were testing them locally.
steps:
  - name: Install Greengrass Development Kit
    run: pip install -U git+https://github.com/aws-greengrass/aws-greengrass-gdk-cli.git@v1.6.2
We then check for changes in the components directory by comparing the latest commit in the branch we want to merge, with the previous commit in our main branch for that directory. Finally we loop through the components that have changed, and build and publish them with the GDK CLI that we installed. You can see how we do this below:
- name: GDK Build and Publish
  working-directory: ./components
  id: build_publish
  run: |

    # check for changes in the components directory

    CHANGES=$(git diff --name-only HEAD~1 HEAD | grep "^components/" | cut -d '/' -f 2)

    CHANGED_COMPONENTS=$(echo "$CHANGES" | tr ' ' '\n' | nl | sort -u -k2 | sort -n | cut -f2-)
    echo "CHANGED_COMPONENTS: $CHANGED_COMPONENTS"

    FILTER="deployment.json.template"
    CLEANED_COMPONENTS=$(echo $CHANGED_COMPONENTS | sed s/"$FILTER"//)
    echo "Filtered components: $CLEANED_COMPONENTS"

    # build and publish changed components

    for component in $CLEANED_COMPONENTS
      do
      cd ./$component
      echo "Building $component ..."
      gdk component build
      echo "Publishing $component ..."
      gdk component publish
      cd ..
    done
Trigger Deployment
The deploy-components workflow is triggered when we push to main, or when we manually trigger a stage or prod deployment in the Github Actions UI. It then checks the following:
- There are changes in the components directory i.e. the
changesworkflow outputs true - The changes were successfully published
- The infra deployment was successful
If all these conditions are met, then we are going to deploy some components 🎉
## deploy components
deploy-components:
  if: ${{ ( github.event_name == 'push' || inputs.deploy_environment == 'stage' || inputs.deploy_environment == 'prod' ) && needs.changes.outputs.components == 'true' && always() && !cancelled() }}
  needs: [changes, publish-components, deploy-infra]
  uses: ./.github/workflows/deploy-components.yaml
  concurrency: deploy-components
  permissions:
    contents: read
    id-token: write
  with:
    environment: ${{ (inputs.deploy_environment == 'stage' || inputs.deploy_environment == 'prod') && inputs.deploy_environment || 'dev' }}
  secrets: inherit
Deploy Components to multiple devices
To deploy our greengrass components, we first export some environment variables. These tell gdk in which region and account to make the deployment and additionally which ‘Thing Group’ to deploy to. A Thing Group is just a collection of devices that should all receive the same components when you deploy.
  - name: Deploy Greengrass components
        run: |

         # Where should gdk deploy, which devices?
          export AWS_ACCOUNT_ID=$(aws sts get-caller-identity |  jq -r '.Account')
          export AWS_REGION=${{env.AWS_REGION}}
          export THING_GROUP=MyThingGroup
Next, we check for changes in the components directory again. We want to see if the deployment.json.template file has changed, or if the components themselves have changes. The deployment.json.template defines how we should deploy our components, in the same way that the gdk.config.json file defines how we should build and publish our components. We might change the deployment.json.template if we have an AWS provided component that needs to be updated to a newer version.
          # Check for changes in the components directory
          CHANGES=$(git diff --name-only HEAD~1 HEAD | grep "^components/" | cut -d '/' -f 2)

          CHANGED_COMPONENTS=$(echo "$CHANGES" | tr ' ' '\n' | nl | sort -u -k2 | sort -n | cut -f2-)
          echo "CHANGED_COMPONENTS: $CHANGED_COMPONENTS"

          if [ -z "$CHANGED_COMPONENTS" ]; then
            echo "No need to update deployment"
          elif [[ "$CHANGED_COMPONENTS" == "deployment.json.template" ]]; then
            echo "Only deployment.json.template changed -> Updating deployment"
            envsubst < "components/deployment.json.template" > "deployment.json"
            echo "Updating to following configuration: $(<deployment.json)"

            echo "Create deployment"
            aws greengrassv2 create-deployment \
              --cli-input-json file://deployment.json \
              --region ${AWS_REGION}

            echo "Deployment finished!"
          else
            echo "Components have changed"

            FILTER="deployment.json.template"
            CLEANED_COMPONENTS=$(echo $CHANGED_COMPONENTS | sed s/"$FILTER"//)
            echo "Changed components: $CLEANED_COMPONENTS"

            envsubst < "components/deployment.json.template" > "deployment.json"
If our custom component has changed, then we need to make sure it has the correct version number in the deployment.json file. Especially if we are updating multiple components at once, we want to be certain that they don’t end up with incorrect version numbers. So, we can get the version number of each component from the AWS Greengrass service and their respective deployment.json files.
            # Update version numbers for each component

            for component in $CLEANED_COMPONENTS
            do
              version=$(aws greengrassv2 list-component-versions \
                --output text \
                --no-paginate \
                --arn arn:aws:greengrass:${AWS_REGION}:${AWS_ACCOUNT_ID}:components:${component} \
                --query 'componentVersions[0].componentVersion')
              echo "Version for $component: $version"

              jq '.components[$component].componentVersion = $version' --arg component $component --arg version $version deployment.json > "tmp" && mv "tmp" deployment.json
              echo "$(<deployment.json)"
              echo "Done with $component"
            done

            # Deploy each component to the thing group
             # deploy
            echo "Create deployment"
            aws greengrassv2 create-deployment \
              --cli-input-json file://deployment.json \
              --region ${AWS_REGION}

            echo "Deployment finished!"
          fi
Finally, we loop through the components that have changed and deploy the components to our target Thing Group.
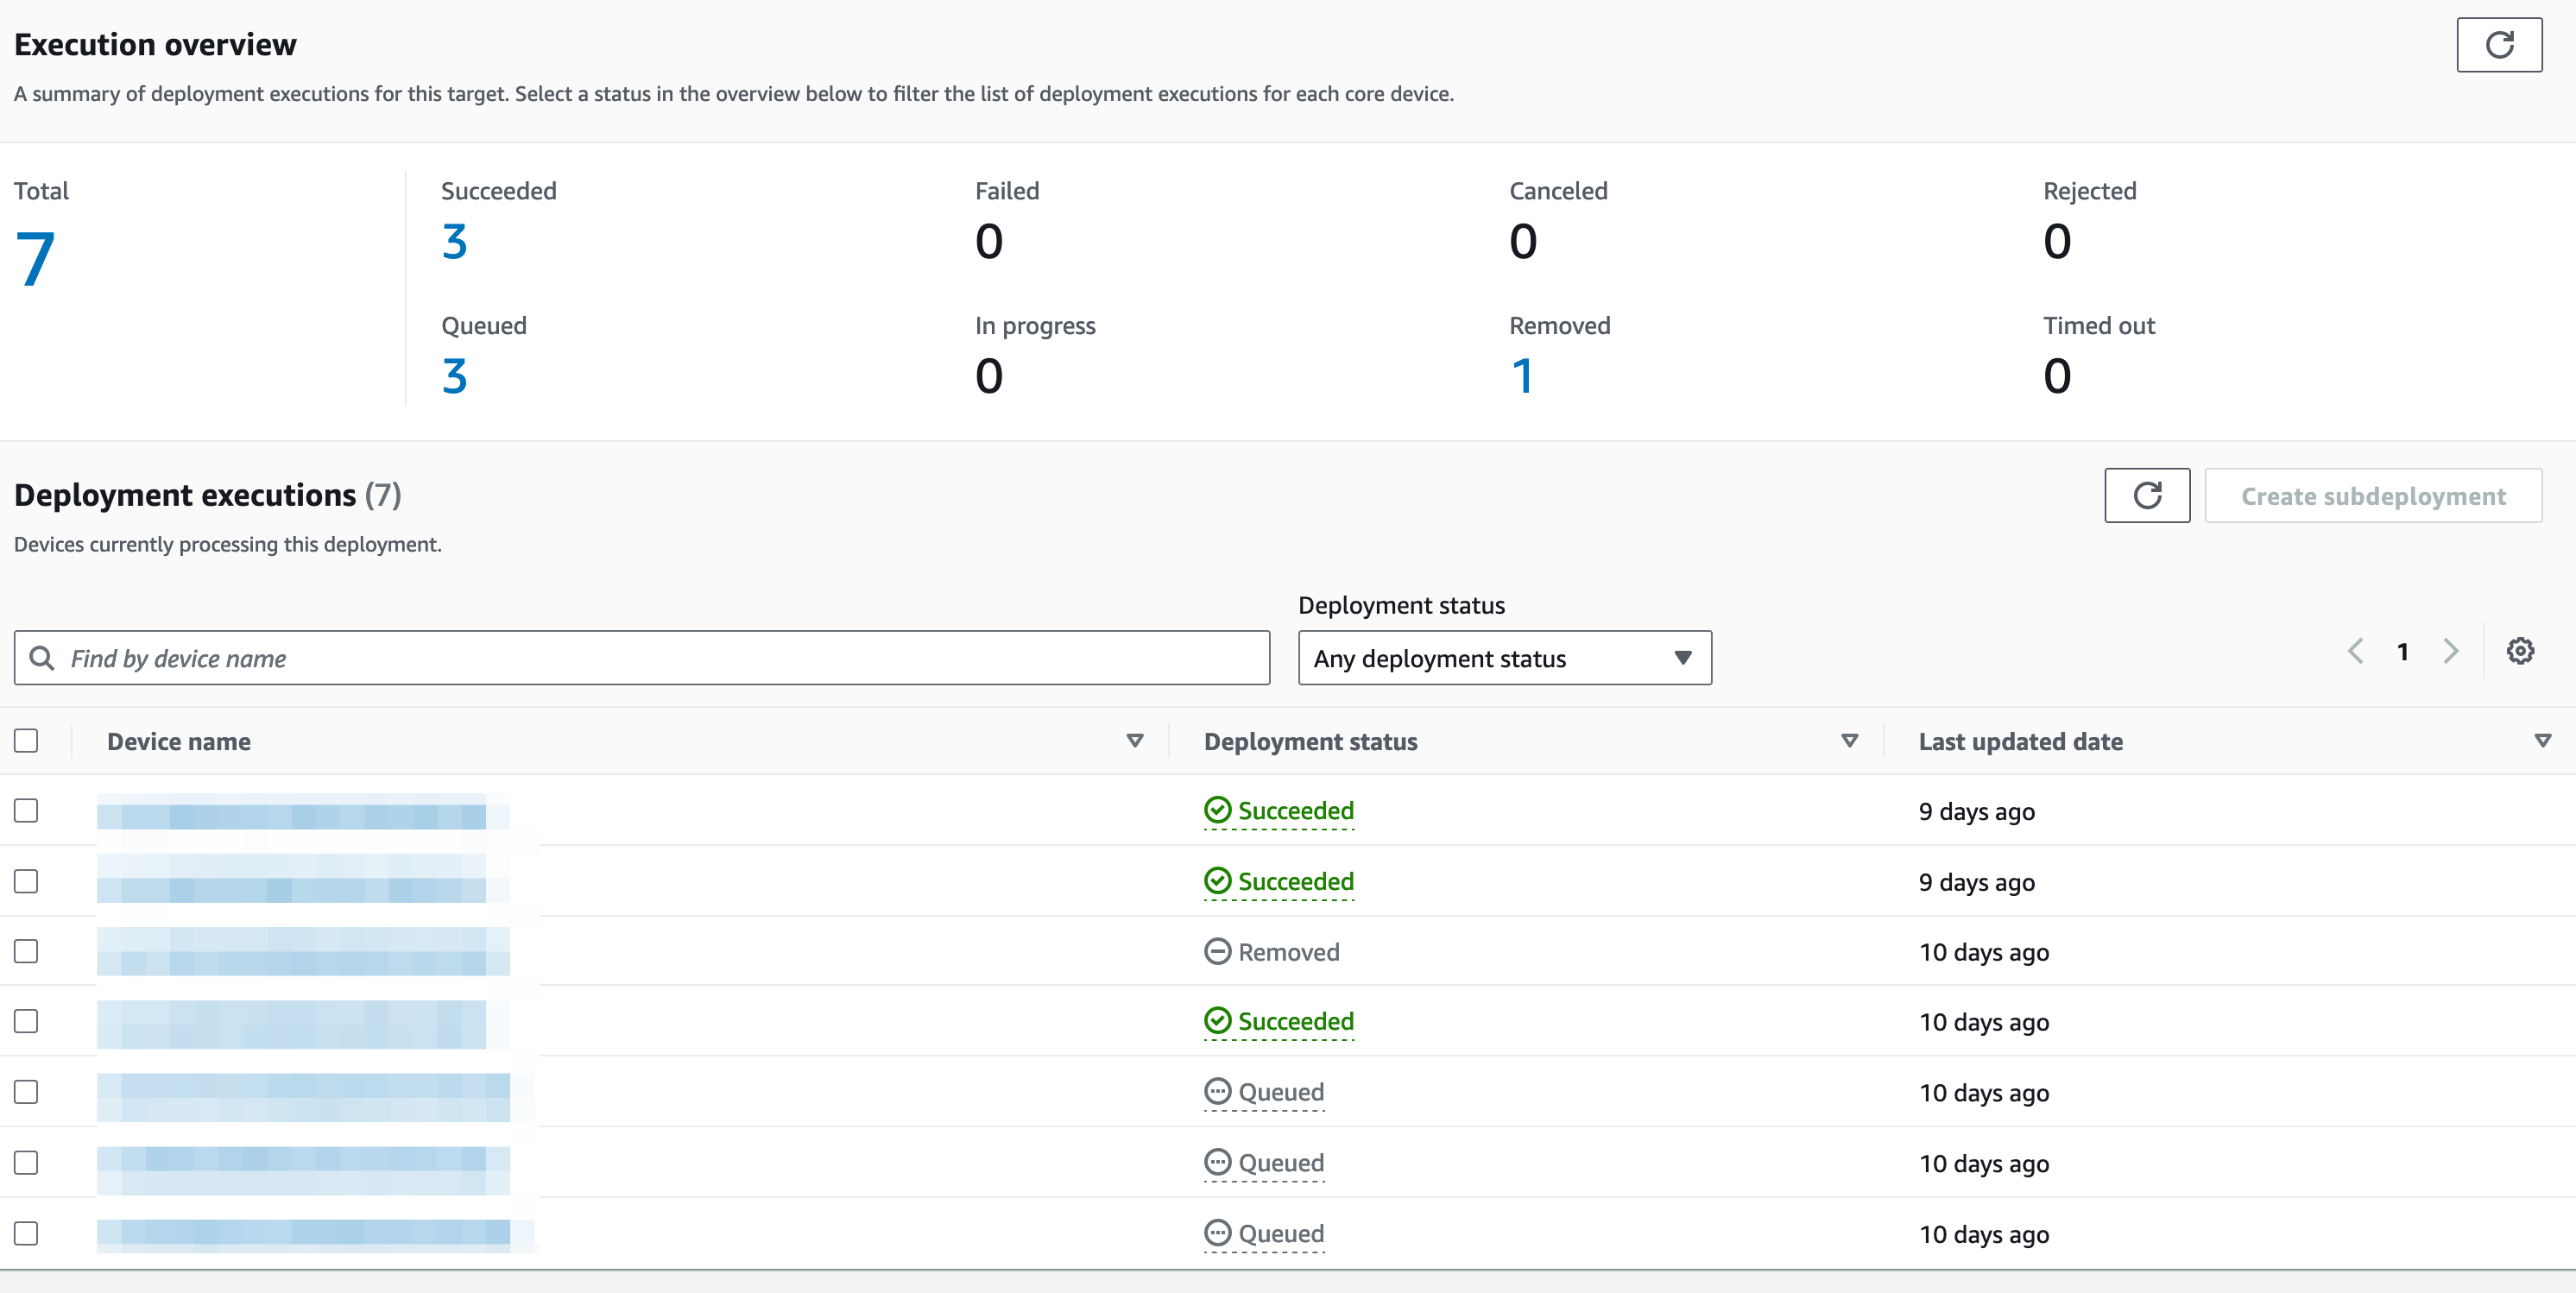
That’s it! Now you should have a new component published in an S3 bucket, which is named after your component and they should also be deployed to your devices. You can check the status of the deployment in the AWS Console by clicking on deployments in the AWS IoT Core service.
Conclusion
In this series, we’ve covered how to provision devices on the fly, build and test AWS IoT Greengrass components, and automate deployment of these components. We hope this clarified what can be a complex process. If you’re working on getting an IoT project off the ground in AWS and need a helping hand, get in contact! 🙂

Rebecca is a Cloud Consultant at superluminar. After a career change from neuropsychology, she works in IT and is passionate about automation and data engineering. You can find her here on LinkedIn.